Last Updated on September 11, 2023 by Admin
Are you eager to unleash your inner DIY enthusiast and embark on a rewarding project? Today, we’ll guide you through the process of building a stunning bookshelf from scratch. Whether you’re a seasoned DIYer or a complete novice, this comprehensive step-by-step guide will equip you with the knowledge and skills needed to create a beautiful bookshelf that will not only showcase your favorite reads but also enhance the aesthetics of your home.
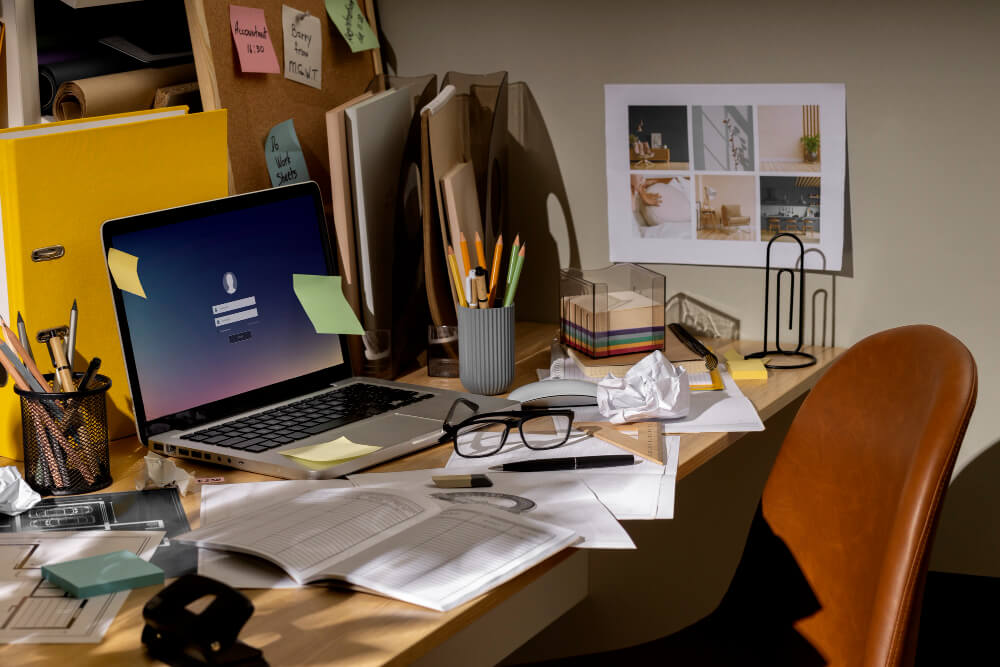
Selecting the Right Materials:
The foundation of any successful DIY project is choosing the right materials. For our bookshelf project, here’s a list of essential items you’ll need:
- Quality Wooden Planks: Begin by selecting wooden planks in the size you desire for your bookshelf’s shelves. Consider both the type of wood and finish to ensure they align with your home decor.
- Screws and Nails: Opt for sturdy screws and nails suitable for woodworking. Having the right fasteners ensures the structural integrity of your bookshelf.
- Measuring Tools: Invest in a reliable measuring tape, a square, and a level for precise measurements and straight lines. Accuracy is key when it comes to woodworking.
- Saw and Sandpaper: A saw is essential for cutting the wooden planks to the desired lengths. Sandpaper will help you smooth rough edges and achieve a professional finish.
- Wood Glue: High-quality wood glue is crucial for creating strong and secure joints. It’s the adhesive that will hold your bookshelf together.
- Safety Gear: Prioritize your safety by wearing safety glasses and ear protection. These items are essential for a safe and comfortable working environment.
Planning Your Design:
Before you start cutting and assembling, it’s essential to plan out your bookshelf’s design. Consider factors such as dimensions, the number of shelves, and any additional features like decorative trim or paint. Taking the time to sketch out your design will prevent mistakes during the build and ensure a successful outcome.
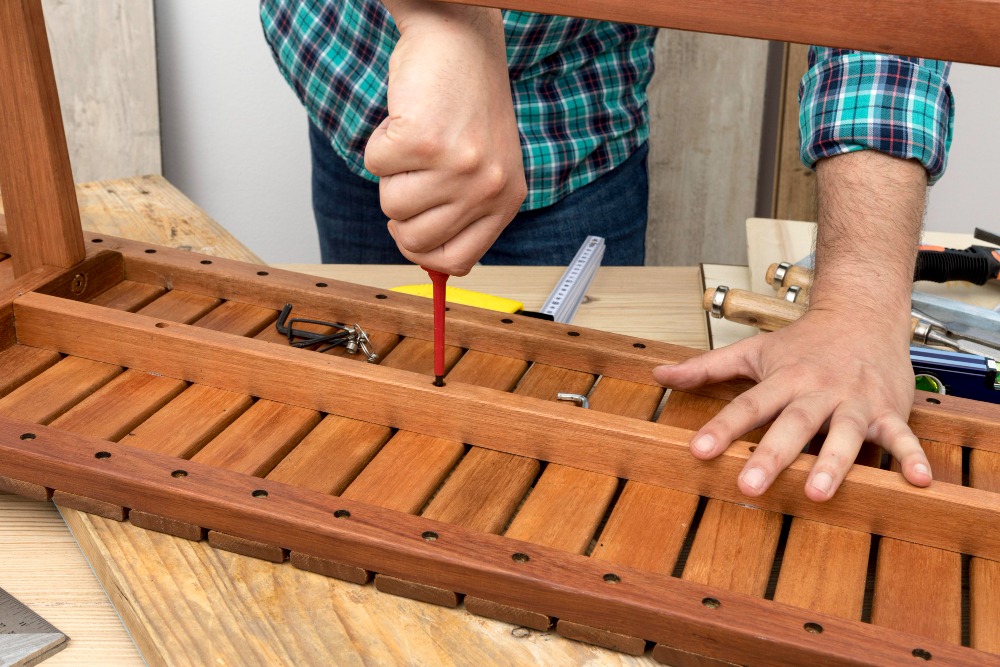
Cutting and Assembling:
- Begin by measuring and marking the wooden planks for the shelves, uprights, and any additional pieces you’ve planned.
- Carefully use your saw to cut the wooden planks to the correct lengths. Take your time to achieve precise cuts.
- With your cut pieces ready, assemble the frame by attaching the uprights to the shelves. Secure them firmly with screws and wood glue to ensure stability and durability.
Finishing Touches:
- After assembling the structure, it’s time to refine the appearance. Use sandpaper to smooth all edges and surfaces to achieve a polished and splinter-free finish.
- To enhance the aesthetics of your bookshelf, apply a wood stain or paint of your choice. This step allows you to customize the bookshelf to match your preferred style and decor.
- For an added touch of personalization, consider adding decorative trim or hardware that complements the overall design of your bookshelf.
Conclusion:
Congratulations! You’ve successfully crafted a beautiful bookshelf that not only displays your favorite books but also elevates the ambiance of your home. DIY projects like this one are incredibly rewarding and cost-effective. They empower you to create furniture tailored to your unique style and preferences.
Now that you’ve mastered the art of building a bookshelf, consider applying your newfound skills to more DIY projects around your home. From crafting custom furniture to tackling home improvement tasks, your creativity and abilities are your only limits.